


Every tower, trap and wall in Pixel Kingdom Wars: stats, range, air targeting, Keep batteries, the five wall tiers and the quirks worth knowing.
On this page
- Quick facts
- The towers
- Splash
- How targeting works
- Which raiders go for your towers
- Who defends with you
- Keep batteries
- Traps
- Trap damage by level
- How traps trigger
- What raiders can see
- Repairing traps
- How many traps
- Walls
- Wall HP by level
- What walls actually do
- Leveling, gates and caps
- Leveling
- Build costs and Keep gates
- How many of each
- Known quirks
- See also
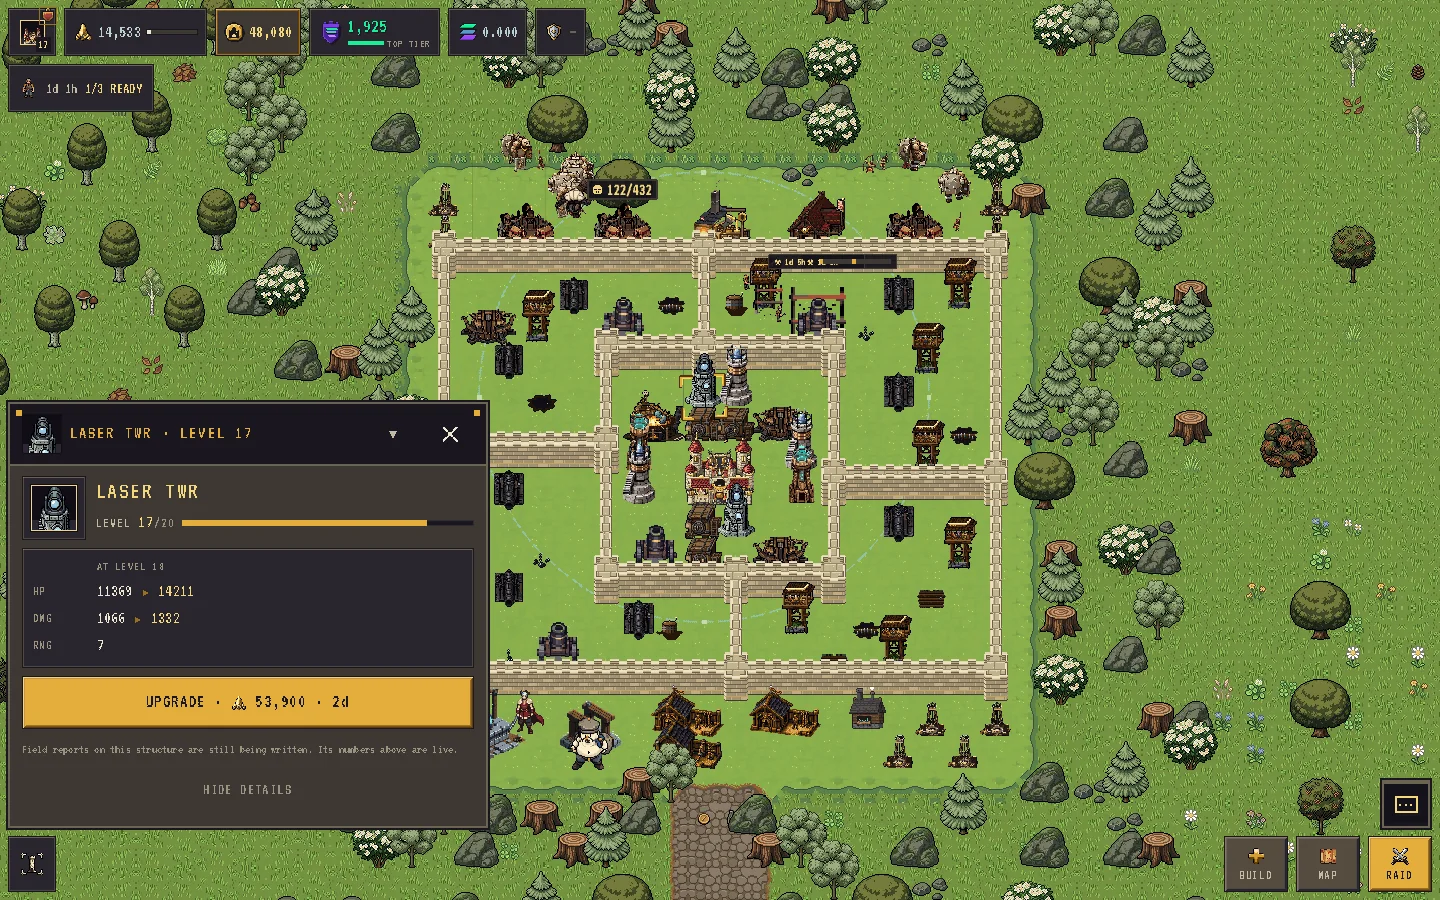
Your base defends itself: towers pick targets and fire on their own, traps go off under a raider's feet, and walls decide where ground troops can walk. This page lists every defense with its real numbers, explains how targeting works, and covers leveling, repairs and placement.
Numbers are level-1 values unless stated otherwise, and distances are in tiles. Wherever KEEP or SOL appears below it is a devnet test token with no real value.
Quick facts
- 8 towers: Cannon, Archer Tower, Mortar, Air Defence, Tesla Tower, Mage Tower, Laser Tower, Dragon Nest.
- 4 traps: Spike Trap, Powder Mine, Pitfall, Air Mine. Traps have no HP, cannot be targeted and fire once per raid; then they need a repair.
- Walls block walking only. They do not block shots and do not count toward destruction or stars. Neither do traps.
- Towers shoot the nearest raider they are allowed to hit and stay on it until it dies, burrows, turns untargetable or leaves range.
- Only Archer, Tesla and Mage towers hit both ground and air. Air Defence is air-only; Cannon, Laser and Mortar are ground-only.
- Every defense and trap levels to 20, but nothing goes above your Keep level.
- From Keep 15 the Keep fires a long-range gun; from Keep 17 it adds a close-range one.
The towers
| Defence | Unlock | SHARDS | HP | DPS | Range (tiles) | Fires every | Targets | Size |
|---|---|---|---|---|---|---|---|---|
| Cannon | Keep 1 | 200 | 420 | 55 | 6 | 1.2s | Ground only | 1×1 |
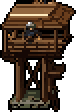 Archer Tower Archer Tower | Keep 1 | 250 | 360 | 34 | 7 | 0.5s | Ground + air | 1×1 |
| Mortar | Keep 3 | 400 | 300 | 80 | 2–7 | 4s | Ground only | 2×2 |
| Air Defence | Keep 7 | 1,100 | 450 | 110 | 6 | 1.5s | Air only | 2×2 |
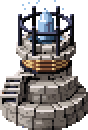 Electric Tower Electric Tower | Keep 8 | 900 | 380 | 40 | 4 | 1.2s | Ground + air | 1×1 |
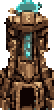 Mage Tower Mage Tower | Keep 10 | 1,400 | 340 | 24 | 4 | 2s | Ground + air | 1×1 |
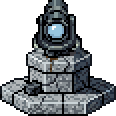 Laser Tower Laser Tower | Keep 12 | 2,200 | 320 | 30 | 7 | 1.5s | Ground only | 1×1 |
 Dragon Nest Dragon Nest | Keep 14 | 3,500 | 700 | — | 4 | 6s | Spawns Wyrmlings | 2×2 |
Damage per shot is DPS × the fire interval, so slow guns hit hard and fast ones chip. Every tower shot rolls a ±6% jitter, so the battle log shows small variations.
| Tower | Footprint | What makes it different |
|---|---|---|
| CANNON | 1×1 | Plain single-target ground gun, range 6. The cheapest tower. |
| ARCHER TWR | 1×1 | Fastest fire rate and range 7; hits flyers. |
| MORTAR | 2×2 | Shells splash 1.5 tiles around the impact. Blind inside 2 tiles. |
| AIR DEFENCE | 2×2 | A harpoon that fires only at flying troops; it ignores every ground unit. |
| TESLA TWR | 1×1 | Its bolt chains to up to 2 more raiders at 50% and 25% damage. |
| MAGE TWR | 1×1 | Big 3-tile splash that also catches flyers. |
| LASER TWR | 1×1 | A beam that lands almost instantly — nothing to dodge. Ground only. |
| DRAGON NEST | 2×2 | No gun. Every 6 seconds while raiders live it hatches Wyrmlings — flying defenders with 60 HP and 20 DPS that live 8 seconds. At most 2 per nest at once. |
Splash
Mortar, Mage Tower and the Keep's long gun aim where the target is when they fire and hit everyone inside the splash when the shell lands. Ground splash never hurts flyers; Mage splash does. Your own Wyrmlings are never caught in your splash.
How targeting works
- Towers fire in building order every tenth of a second.
- A tower keeps its target while it is valid and in range. When it needs a new one, it picks the nearest live raider it can hit — no preference for low HP, heroes or troop type.
- Valid targets are alive, not burrowed, not untargetable (some hero skills) and in the tower's air or ground class.
- Against a flying troop, reach is measured to the edge of the tower's footprint; against ground troops, from the tower's centre. That is why a range-4 Tesla or Mage tower can still hit a dragon hovering a little over 4 tiles out.
- A shot always connects if the target is still alive and targetable when it lands.
- Towers never shoot walls, traps or buildings, and walls never block their fire.
Which raiders go for your towers
Giants, Dragons, Tur Riders, Direwyverns and Barrowlings target "defenses" first — any building with a gun, a Dragon Nest, and from Keep 15 your Keep.
Who defends with you
Your trained troops never fight at home. The only defenders are Dragon Nest Wyrmlings and your recruited heroes. Heroes can hit flyers. One caveat: a defending hero is currently removed from the fight about 8 seconds into a raid, so treat it as an opening burst, not a full-length defender. See Known issues.
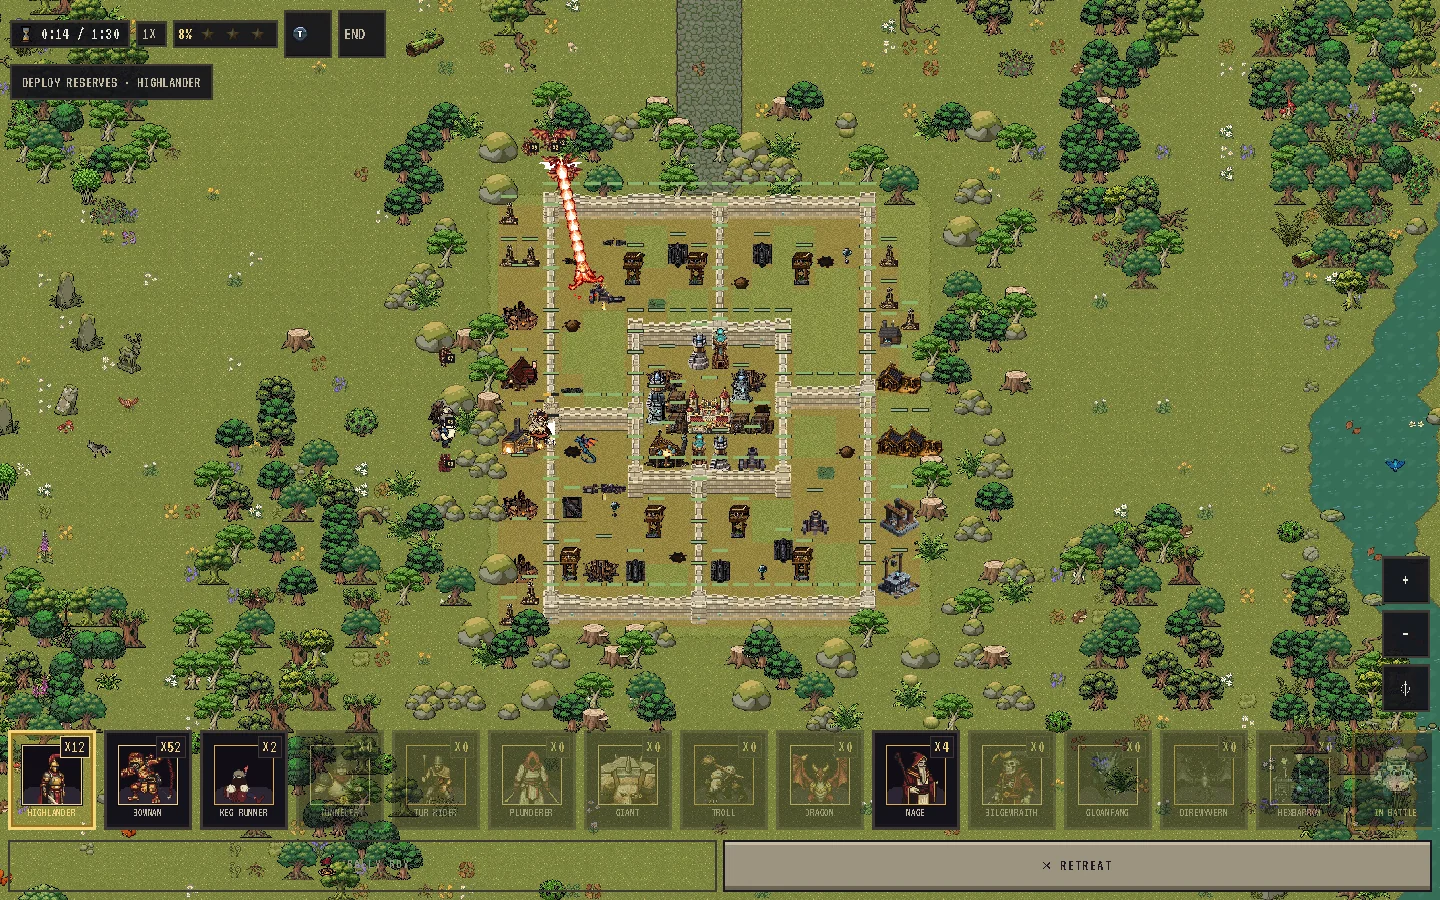
Keep batteries
Your Keep is a target from day one, but at high levels it shoots back:
- Keep 15 — a long-range gun with the Mortar's profile: splash, 2–7 tile range, ground only, scaled to the Keep's level.
- Keep 17 — a close-range gun with the Cannon's profile but a reach of only 3 tiles. The Keep uses it when a raider is that close, covering the long gun's blind spot.
- Neither Keep gun hits flyers.
The Keep has 1,200 HP at level 1 and scales like other buildings. In the build sheet these show as KEEP BATTERY — LONG-RANGE GUN / CLOSE-RANGE GUN.
Traps
Traps are cheap, quick to build (60 seconds), 1×1 and cannot be attacked — they have no HP and are never targeted. Each fires once per raid.
| Trap | Unlock | SHARDS | Burst damage | Effect | Hits |
|---|---|---|---|---|---|
| Spike Trap | Keep 1 | 30 | 250 → 325 → 425 → 550 | Single target | Ground |
| Powder Mine | Keep 4 | 75 | 110 → 150 → 210 → 280 | Splash 1 → 1 → 1.25 → 1.5 tiles | Ground |
| Pitfall | Keep 6 | 90 | 70 → 100 → 140 → 190 | Stuns 0.8 → 1 → 1.2 → 1.5 s | Ground |
| Air Mine | Keep 8 | 120 | 130 → 180 → 250 → 340 | Splash 1 → 1.25 → 1.5 → 1.75 tiles | Air |
Trap damage by level
Trap damage steps up every five levels rather than every level:
| Trap | Levels 1–5 | 6–10 | 11–15 | 16–20 |
|---|---|---|---|---|
| Spike Trap (burst) | 250 | 325 | 425 | 550 |
| Powder Mine (burst / radius) | 110 / 1 | 150 / 1 | 210 / 1.25 | 280 / 1.5 |
| Pitfall (burst / stun ticks) | 70 / 8 | 100 / 10 | 140 / 12 | 190 / 15 |
| Air Mine (burst / radius) | 130 / 1 | 180 / 1.25 | 250 / 1.5 | 340 / 1.75 |
A Pitfall's stun is counted in battle ticks; a battle runs ten ticks a second, so 10 ticks is one second.
How traps trigger
- After every movement step, the first raider standing on the trap's tile sets it off — ground traps for ground units, the Air Mine for flyers. Burrowed Tunnelers still trigger ground traps.
- Splash traps hit everyone in range except dead, burrowed or untargetable units.
- Once it fires, the trap is spent for the rest of the raid.
What raiders can see
Traps are not hidden from the attacker. Ground traps are drawn buried and easy to overlook, and the Air Mine visibly drifts. Spent traps show as sprung to everyone, including on your deed image.
Repairing traps
After a raid, every trap that fired stays on the map but is inert until you repair it. Repair is a builder job that costs SHARDS by the trap's tier, and the trap re-arms when the job finishes. A spent trap cannot be upgraded until it is repaired.
| Trap | Repair cost by trap tier (SHARDS) | Repair time |
|---|---|---|
| Spike Trap | 20 / 30 / 45 / 65 | 30s |
| Powder Mine | 45 / 65 / 90 / 125 | 45s |
| Pitfall | 55 / 80 / 110 / 150 | 45s |
| Air Mine | 70 / 100 / 140 / 190 | 1m |
How many traps
You can place 2 traps per Keep level across all four types, up to 20 from Keep 10. Trap upgrades take 10m at level 1 rising to 8h for the last step.
Walls
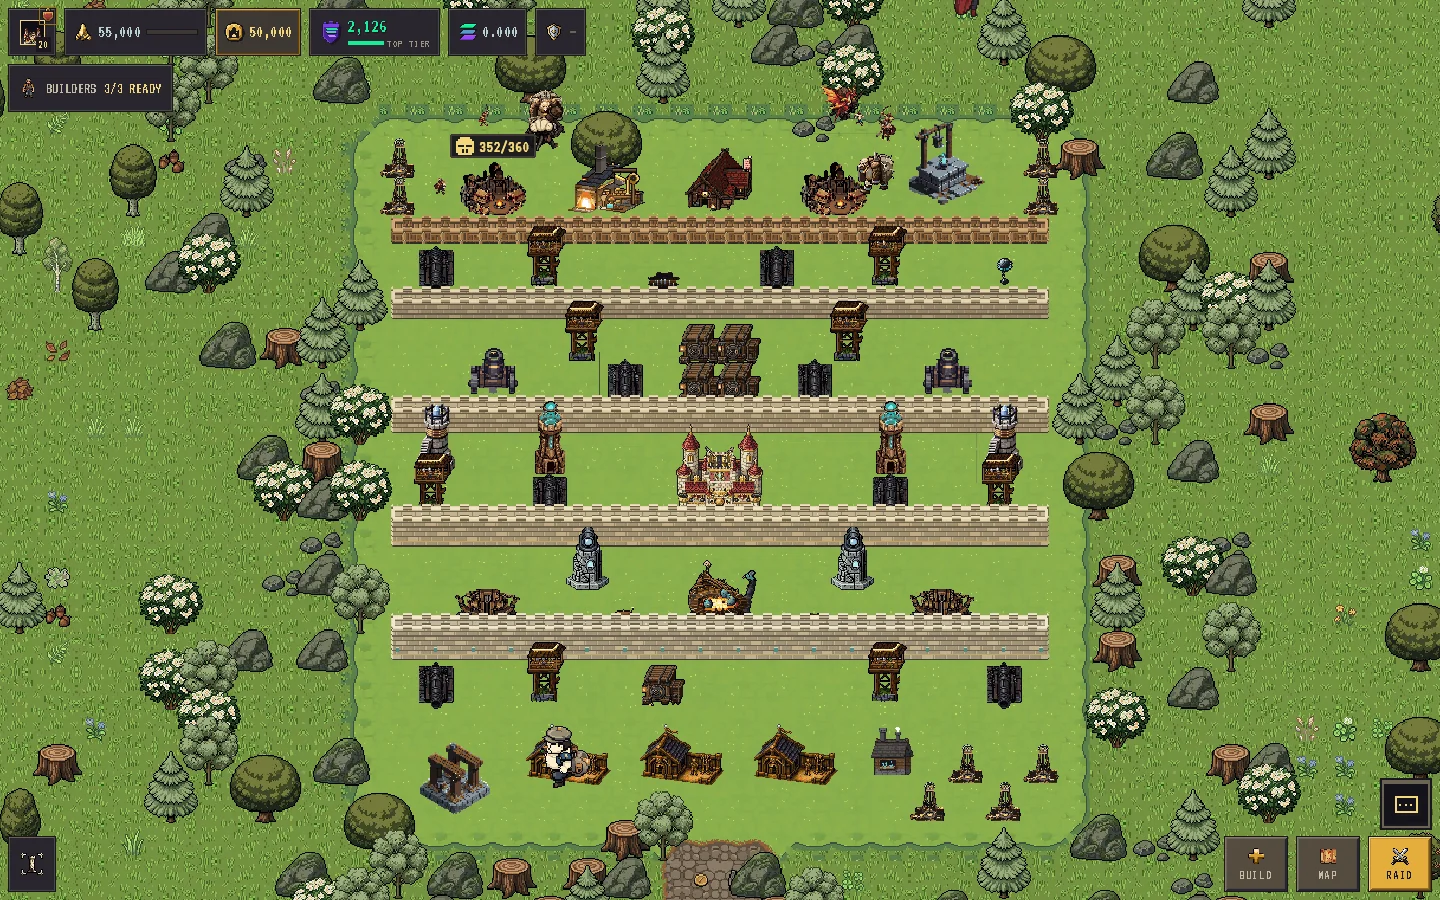
- 150 SHARDS per segment, placed instantly — no builder. Drag to lay a run; the whole run is one all-or-nothing purchase.
- Upgrades are instant too, per segment, from 48 SHARDS (level 1→2) to 38,880 SHARDS (19→20). A wall cannot go above your Keep level.
- Moving walls is free, and you can move a run together.
- Cap: 40 segments at Keep 1, rising every level to 250 at Keep 20.
- Five looks: levels 1–4 reinforced timber, 5–8 hewn stone, 9–12 dressed stone, 13–16 reinforced stone, 17–20 shard crown. The look never changes a wall's stats.
Wall HP by level
| Level | HP | Level | HP |
|---|---|---|---|
| 1 | 300 | 11 | 4,808 |
| 2 | 600 | 12 | 5,529 |
| 3 | 1,200 | 13 | 6,247 |
| 4 | 1,500 | 14 | 7,060 |
| 5 | 1,875 | 15 | 7,977 |
| 6 | 2,212 | 16 | 8,855 |
| 7 | 2,611 | 17 | 9,829 |
| 8 | 3,081 | 18 | 10,910 |
| 9 | 3,635 | 19 | 12,001 |
| 10 | 4,180 | 20 | 13,201 |
What walls actually do
In battle, only walls block movement; buildings do not. How a raider treats a wall depends on its type:
- Flying troops (Dragon, Direwyvern) and ranged "over" troops ignore walls when their target is in reach.
- Tunnelers and Bilgewraiths burrow under.
- "Break" troops smash the wall in their way — a Keg Runner's wall burst is 900 (level-scaled).
- "Follow" troops look for a gap or a breach another unit has opened.
A ground unit blocked by a wall decides once — break through or walk the detour, whichever is faster for it — and commits until its target or the wall falls.
Leveling, gates and caps
Leveling
- Every tower and trap goes to level 20.
- Leveling a tower raises HP and damage only. Range, fire rate, splash, chains and footprint never change.
- The per-level gain tapers: ×1.25 per level for 2–5, ×1.18 for 6–9, ×1.15 for 10–12, ×1.13 for 13–15, ×1.11 for 16–18 and ×1.1 for 19–20. A level-20 tower has about 17× its level-1 HP and damage.
- Nothing can be upgraded above your Keep level.
- A building under construction does not fight. A building mid-upgrade keeps fighting at its current level.
Build costs and Keep gates
Every tower and trap is a 60-second build.
| Tower | Cost (SHARDS) | Keep gate |
|---|---|---|
| CANNON | 200 | — |
| ARCHER TWR | 250 | — |
| MORTAR | 400 | L3 |
| AIR DEFENCE | 1,100 | L7 |
| TESLA TWR | 900 | L8 |
| MAGE TWR | 1,400 | L10 |
| LASER TWR | 2,200 | L12 |
| DRAGON NEST | 3,500 | L14 |
| SPIKE TRAP | 30 | — |
| POWDER MINE | 75 | L4 |
| PITFALL | 90 | L6 |
| AIR MINE | 120 | L8 |
Upgrade timers follow the ladder every non-trap building shares, from 10m to 3d — the full table is on Base building. Any job can be finished early for KEEP.
How many of each
| Tower | Keep L1 | Keep L10 | Keep L20 |
|---|---|---|---|
| Cannon | 1 | 5 | 10 |
| Archer Tower | 1 | 5 | 10 |
| Mortar | 0 | 3 | 5 |
| Air Defence | 0 | 1 | 4 |
| Tesla Tower | 0 | 2 | 4 |
| Mage Tower | 0 | 1 | 3 |
| Laser Tower | 0 | 0 | 3 |
| Dragon Nest | 0 | 0 | 2 |
Cannon and Archer caps grow by one every two Keep levels. The Keep's sheet lists exactly what your next Keep level unlocks.
Known quirks
- Defending heroes leave early — about 8 seconds into a raid.
- Sheet stat chips overstate high levels — above level 5.
- Long tower reach is hard on ground-only campaign armies at some mid-game stages.
- A maximum-size all-dragon army can still clear a base — air defences, archer, tesla and mage towers are the counter.
All of these are tracked on Known issues.
See also
- Base building — builders, the Keep, placement and speed-ups
- Raids and loot — destruction, stars and loot
- Troops and heroes — wall policies and which troops fly
- Campaign and PvE
- Glossary and FAQ